
I'm in love with this fun fold card! So much so that I made a video yesterday on my FB page, Stampin Carol - Lots of Crafty Goodness, of the making of this card but I'm going to show you the finished card I made before the video. This video is now on YouTube dated yesterday.
(This post contains affiliate links. When you shop
through my links I may receive a small commission at NO cost
to you! Thanks for your support!)
I'm actually going to do a step by step photo tutorial of this card now. I have some tips on my video that I discovered while making my first card so you may want to check it out. If you take your time and think this
through it will surprise you how easy it is! AND I resized this card to
use 8 1/2" x 11" paper instead of the 12" x 12" that I used for my first
try at this card style.

1 @ 5" x 10 1/2" and 2 @ 2 1/2" x 10 1/2"
Score at: 2 1/2", 5", 7 1/2" and 10". Trim the corners of the small 1/2" section as shown above.


Once dry you can start decorating!

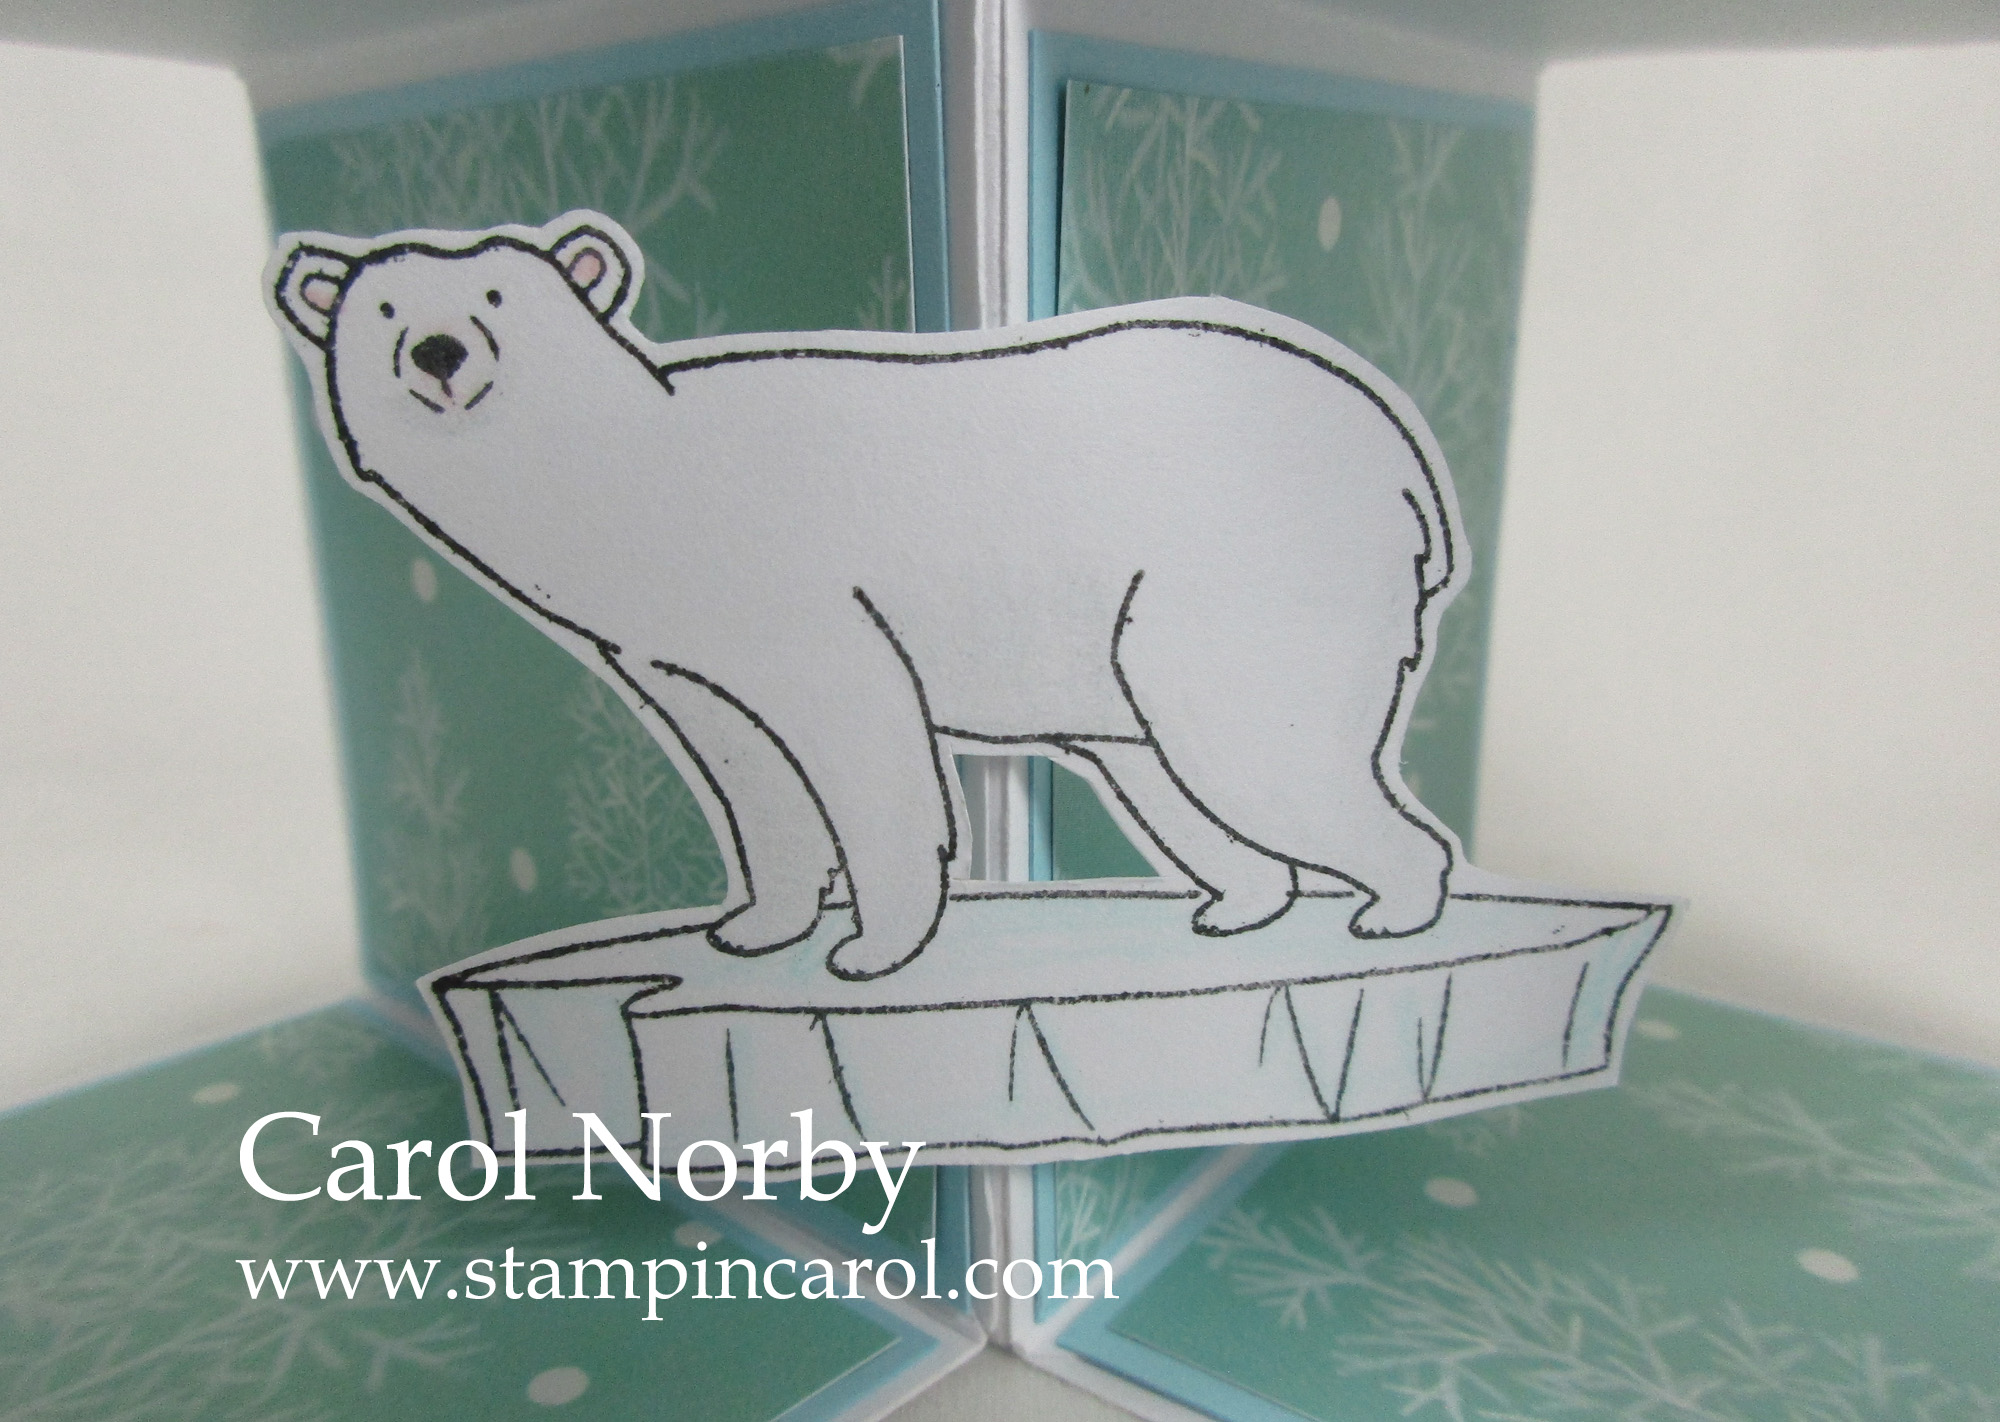

To attach the bear and the igloo I cut 2 pieces of the each background paper to 3/8" x 2"and folded them in half for each element. I adhered them as shown below. Now this is tricky. I adhered half of the small strip to the side so that it will hold the stamped element. It must have the fold right on the center fold. After aligning both pieces I added a strip of my white liner tape over the 2 pieces. I will show this on my video.


Are you now considering making this style of fun fold card?
Stampin Carol
The... ones who follow the Lamb... were redeemed from among men. Revelation 14:4
- Whip Cream 8.5 x 11 Cardstock

- Price: $6.95
- Sku:CS-0040
- Pool Play 8.5x11 Cardstock

- Price: $6.95
- Sku:CS-0092
- Fresh Forest 8.5 x 11 Cardstock

- Price: $6.95
- Sku:CS-0011
- Black Licorice True Color Fusion Ink Pad

- Price: $7.95
- Sku:IP-0041
- River Stone True Color Fusion Ink Pad

- Price: $7.95
- Sku:IP-0053
- Clear Pigment Ink Pad

- Price: $9.95
- Sku:IP-0102
- Journey Black- Embossing Powder

- Price: $5.95
- Sku:IP-0099
- Journey Color Burst Pure Color Pencils

- Price: $79.95
- Sku:JM-0077
- Journey Craft Glue

- Price: $4.95
- Sku:AD-0111
- White Liner

- Price: $6.95
- Sku:AD-0001
- Journey Blooms Paper Trimmer

- Price: $34.95
- Sku:TO-0039
- Details Pro Shears

- Price: $13.95
- Sku:TO-0063
- Journey Heat Gun

- Price: $27.95
- Sku:TO-0083
- Journey Scoring Board

- Price: $24.95
- Sku:TO-0149
- Crease Tool

- Price: $6.95
- Sku:TO-0040
1 comment:
I'm so in love with these Carol and thanks for the instructions. Hugs, Angela xXx
Post a Comment