My challenge post for today, whether it's a card, scrapbook page, altered art, etc. was to have a spring theme. Here are my 2 projects!
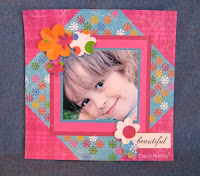
This 8" x 8" scrapbook page is of our youngest granddaughter, Rowan. Isn't she a beauty?!
I started with a page from our
Kaleidoscope Girlz Wing It paper. I matted her picture with some coordinating blue cardstock and adhered it to the center of the page. The text is from our
This Girl set stamped with Noir PH ink. I punched assorted flowers from papers in the pack which I creased to add deminsion and adhered with
Pop Dots.
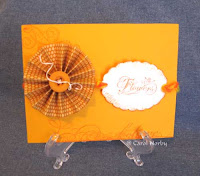
My card uses
orange cardstock and I stamped along the bottom edge one of our cool
Edge Designs using Orangerie PH ink. If you look closely you can see a flower stem (from the
Spring Dream set) under the accordian-fold flower and a cool swirl design in the upper left corner which is from our
Summer Elegance set as is the text. I stamped the text on white cardstock, punched with our
Super Jumbo Scalloped Oval punch then swiped with Orangerie on the edges and punched holes for my yarn.
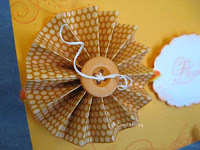
Here is a closeup of my accordian-fold flower. I used 2 pieces of our Country Cottage Designer paper (retired), cut 1 1/2" wide
, taped together, folded, and adhered on a piece of cardstock. I added the orange button laced with white scrappers floss. I really like this!

 Stamps: Good Timber, Laughter (hostess set)


