Sunday, August 31, 2014

A Snow Covered Tree Proclaiming Glory!

I recently purchased a new Cricut cartridge called Winter Woodland.  I like the fun things on this cartridge and here's a card using a cut snow-covered tree as the focal point.  This card meets the Clean & Simple 305 challenge of using a shape other than circles or squares as a focal point!


The stamped phrase is from a set called "Hung On A Tree" by Red Rubber Designs.  The little stars are white sparkle embossed.  I know that a pine tree is traditionally used on Christmas cards but I like this tree.


It's really hard to tell but all the snow on the tree has been brushed with my Clear Wink of Stella Brush and they really shimmer!! I used various scraps for all the paper elements on this card.  I'm sure enjoying my Cricut more and more!!  Head on over to Clean & Simple for more info on this challenge!

P.S.  I have updated my Stamps For Sale page with a few sets. 

Friday, August 29, 2014

Meeting A Challenge

I do enjoy 52 {Christmas} Card Throwdown and Freshly Made Sketches blogs and get lots of inspiration from their challenges and those who pick up the challenges.  Wednesday I worked on a card to meet both challenges in 1 card.


The reindeer stamped image is by Copper Leaf Creations (I could not find the stamp in their online list) and the text by The Angel Co. (closed in 2011).  I embossed both with an embossing powder called Twilight by Stampendous (which I've had for about 15 years).  52 {Christmas} Card Throwdown's  August challenge was to use glitter and bling.  I added some red bling stickers from Stampendous under the text to meet the bling part of the challenge.


The sketch came from this week's Freshly Made Sketches 151.  I used some paper scraps I had left over from a class last month.  I think they work well together.

Now, please pop over to the 2 blogs and check out the wonderful inspiration projects and the great cards made to meet the challenges.  If your mojo is on vacation these should bring it back!


Wednesday, August 27, 2014

Owl Miss You on my Desk

I realized that I needed a card to post with today's desk view and seen the challenge on the Stars and Stamps blog and thought, ah ha!  I had a virgin set of stamps (never inked until today) that I purchased from my CTMH consultant while in a hostess club and some OLD paper from The Angel Co. (closed in 2011) and I started in yesterday morning before heading in for Bible study at church.  But first, I have to show you my desk.  I've been taking part in this blog tour headed up by queen desker Julia at the Stamping Ground. Sometimes showing you my desk prompts me to tidy it but that doesn't happen very often as I can ignore that relatively easy.


What is on my desk (last night)?  On the left is an old paper collection from The Angel Co. (closed in 2011) of which I was an independent consultant for 9 years, my Cricut (just got a new cartridge that I'm anxious to use called Winter Woodland),  the now not virgin stamps that I used finally, my card shown below, scissors, ink pad, bone folder, sanding block, and  OTT lamp base.  Further back is my rack of Copic markers, tape dispensers, lots of misc. stuff.  The turquoise thing in the upper right is a piece of dyed fish leather. Yeah, you read that right, fish leather.  I hope to make a wrist cuff out of it - someday.


Here's the card that's on my desk.  I used a sketch (#237) from a Stars and Stamps challenge.  I enjoy taking part in challenges as it usually gets my mojo going.


As you can see I raised the stamped elements.


I also used some Glossy Accents on the eyes.  I do have an issue with this card.  I don't like the eyes on the girl owl.  The direction is wrong.  Oh well.  Next time I'll tilt her more. (I had to laugh when a comment said she was looking at the sentiment...  I like that!)

So now please pop over to the Stamping Ground and check out the other desks.  I'll be visiting more this morning as I don't have to go to town (at least not that I know of at this time).  Enjoy!!

Monday, August 25, 2014

A Unique Blog Hop - Getting To Know Your Creative Side

A couple weeks ago my friend Mischelle asked me to join in this unique blog hop.   Here's her post that she did last week for this fun and unique hop.

The first question I'm supposed to answer is "
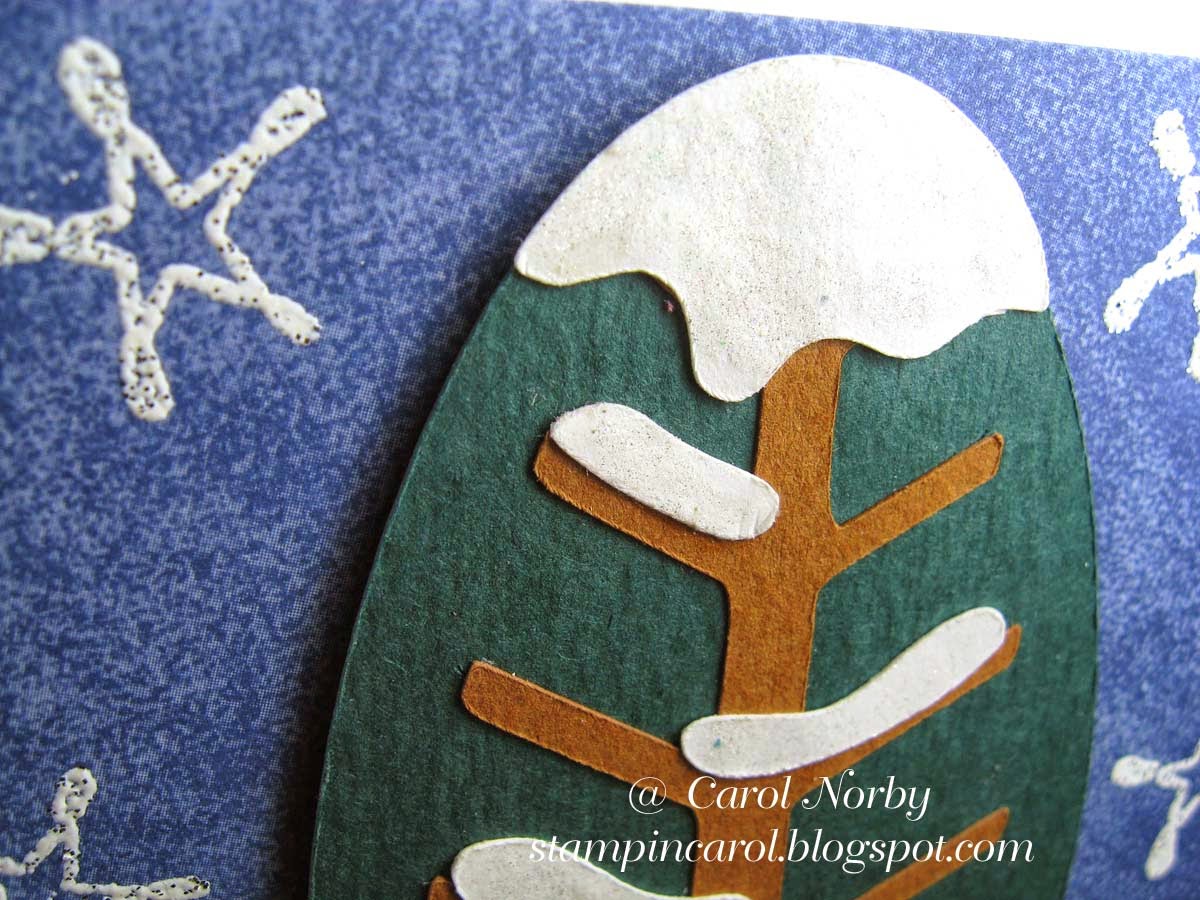
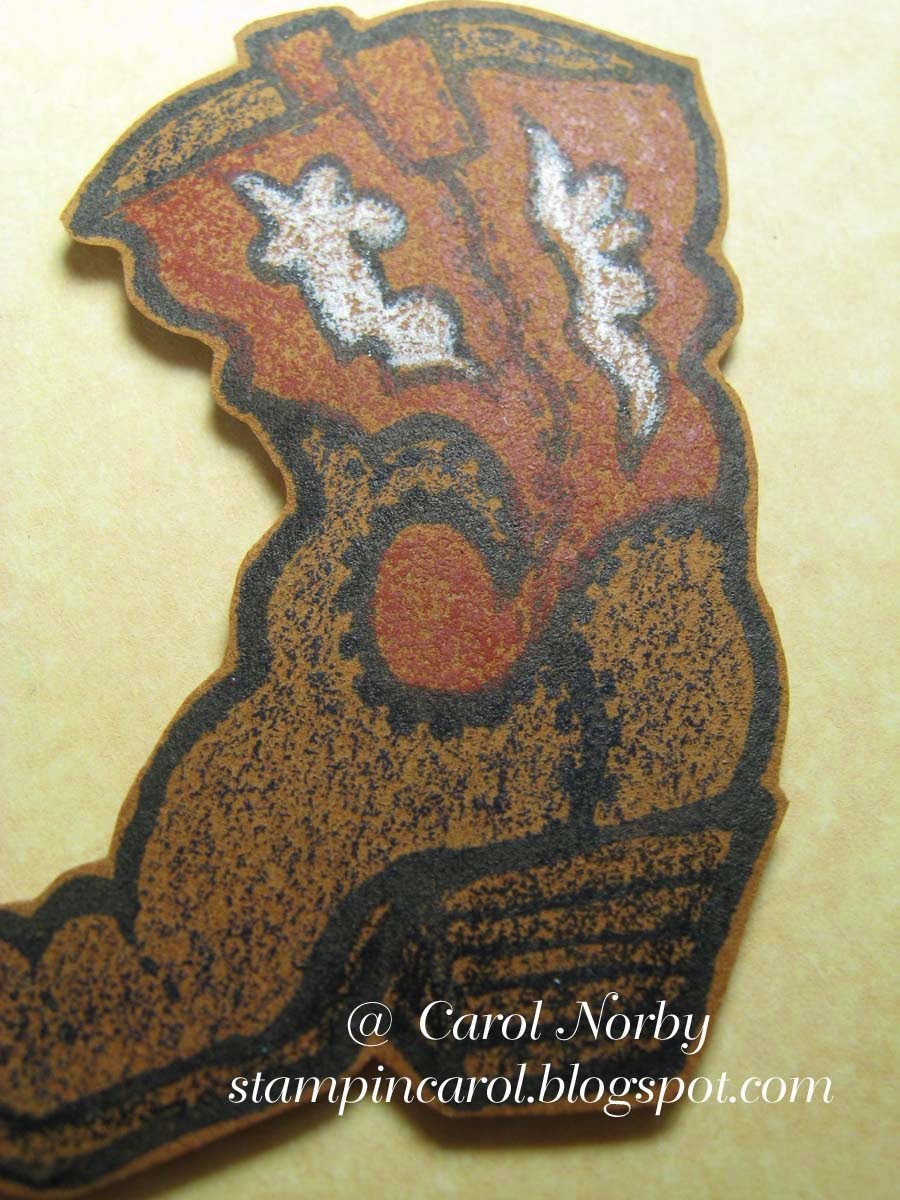
What Am I Working On?"  Well, since I teach at a local scrapbook store in Green Valley, AZ, I'm constantly trying to find ideas for classes.  I teach once a month and hope to get back to twice but not until our "snowbirds" come back. I also enjoy taking part in various challenges by different blogs and if you look back in my blog you can see some of them.  And I'm just finishing some card samples to help sell certain papers at the store.  They're by American Crafts and here's 2 of them.  I posted 1 last Friday.  The 4th will post soon.


I'm also preparing to have a "booth" at our local Curves (women's work out place) as a crafter.  I will bring some cards to sell, the monthly class schedule of the store where I teach and some tools of the hobby such as paper, stamps, etc.  Here's the box of cards I've been working on...


What cards don't sell do have places to go.  Some will go to the store to sell and some will become gifts for our children to use.  Occasionally they ask for the cards and I so happy to give them what they want.

 
The next question is "
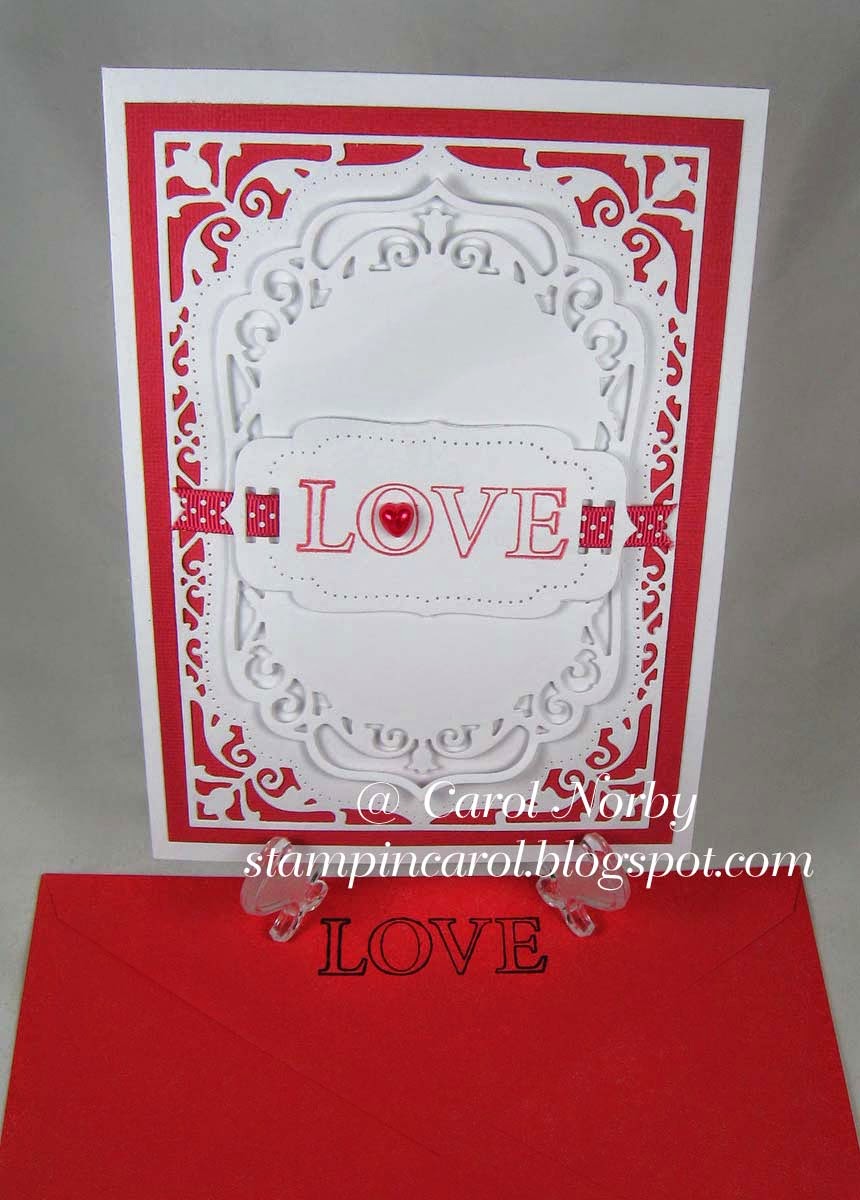
How Does My Work Differ From Others In This Genre?"   I can't really say that it does other than trying to make cards for my classes that my students will replicate.  The cards can't be too complicated or use products that the store doesn't carry, can't get, or that the students don't have in their normal stash.  I tend to use Spellbinder dies and am getting into my Cricut Expressions a bit more.

The third question is "
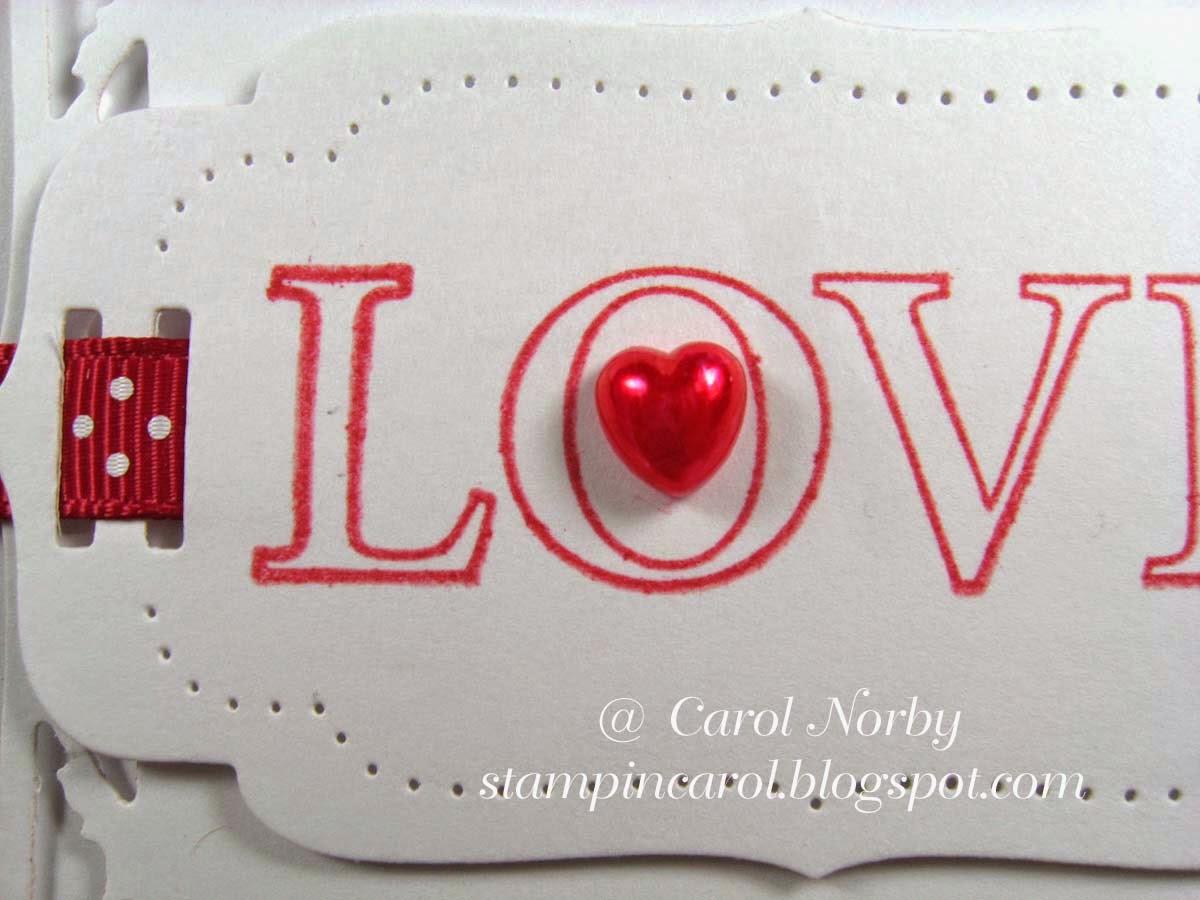
Why Do I Create What I Do?"  Because I love it!!  I enjoy working with my hands and making items that people love.  My hubby enjoys seeing my projects and looks for the bling since I have a tendency to use my Stardust Clear Gel pen, Wink of Stella pens, sequins, or rhinestones.  But sometimes I fool him...


Question 4 is "How Does My Creative Process Work and How Do I Get and Stay Inspired?"  Well, that's a hard one.  I tend to visit MANY blogs and Pinterest is where I get inspiration!  Once in a great while I CASE a card but most of the time my cards barely resemble what inspired me.

I have 2  wonderful and awesome gals who will be sharing with you next Monday, September 2.

1.  Seliese at Amethystcat Designs who is an A|Muse Studio Designs consultant.  I knew her when we were in The Angel Company together.  I love her projects!  She is a lot of fun to be around.
2. Valentina at Kookie's Paper Kreations who is a new Stampin Up! friend.  I've met her on FB on a group I'm a member of and enjoy seeing her kreations.  She teaches classes and has the cutest projects.  She is new to blogging so please encourage her when you pop over to her blog.

I hope you enjoyed a bit of my work and I thank Mischelle for thinking of me.  I hope you pop by again!

Friday, August 22, 2014

Ice Cream Cones and a Freshly Made Sketch

This week Debi at AZ Scrapbooking gave us instructors some paper to make at least 3 card samples to promote different papers that she wanted to sell.  I ended up with 3 from American Crafts "Summer" collection.  When I seen the one with ice cream cones I had a thought.  Then I seen the sketch on Freshly Made Sketches # 150 and I was off and running.


I borrowed the Cricut cartridge "Designer's Calendar" that has a cool cone and grabbed some light brown scrap to make the cone bottoms.  The stamped text is from the Hero Arts "Say It All" set.  I used some red and patina Stickles on the ice cream scoop bottoms.


I scored the cones using my Scor-Pal and love how they turned out!


I used a 1/2" circle punch and a bit of green scrap for the cherries.  I think this card will help.  Now, on to making 2 more.  Head on over to Freshly Made Sketches and check out the inspiration projects and challenges!  My cards decorative panel is too large but the pattern seem to determine the size.  Hmmm, do I need to add some bling to the cherries?

Wednesday, August 20, 2014

Another Desk, Another Christmas Card

I have been away from my desk for about 4 days so finally got a few minutes yesterday to finish a card for a monthly 1 on 1 swap through the Technique Junkies.  So, when I completed it I took this picture of my desk.  This weekly international blog tour has been brought about by head desker, Julia, at the Stamping  Ground.


I have slightly reorganized my desk by now having my Copic markers just above my Cricut and at a horizontal position instead of vertical.  I can actually see the numbers so much better!  The little gal on the Cricut is a name tag I made about 3 years ago for a group of us that met once a month or so and stamped. In front of the Cricut is my package of Wink of Stella brushes and some stamps along with my metal ruler.  On the right half of my picture is my blue craft mat under my Scor-Pal with mat, the card shown below, ink pad, scissors, a star punch (for an "out house" card posted just before this), roll of foam mounting tape, my sanding block, and just a hint of the red handle of my ATG tape dispenser.


This is the card on my desk.  The technique is called Background Stained Glass. It is colored with the Copics.  The text is stamped on a die cut made with a Spellbinders Labels 28 nestie.  The stamped image is from an old wood-mounted stamp by Peddlar's Pack Stampworks dated 2000.  The text is from a Hero Arts set called Celebrate Everything.


It's really hard to see the Clear Wink of Stella on the red berries.  I think my Stardust Clear Gel pen works better than the Clear Wink but the Silver & Gold Wink brushes are very brilliant!  Now to get this card in the mail to my swap partner tomorrow and I'll have all my swap cards out.  But please pop on over to the Stamping Ground and enjoy up to 100 desks involved in this hop.  It's great fun, lots of inspiration, and so great organizational ideas!


Friday, August 15, 2014

A Clean & Simple 52 {Christmas} Card

I'm so glad to be done with my 4 "Wood 'N It Be Nice" card samples for a class in September.  The meeting is on Monday so I'm am ready for it.  Now, I wanted to play a bit with some challenges and found 2.  One at Clean & Simple (#303) and one at 52 {Christmas} Card Throwdown (August Color Challenge which is closed now but I liked the colors).  What to do... combine them!


The challenge at 52 {Christmas} Card Throwdown was to use 4 colors: white, cream, silver, and gold.  The challenge at Clean & Simple was a sketch (which I turned horizontal).  I used my new Winter Wonderland Cricut cartridge for the snowflake along with white and cream card stocks, and silver and gold metallic card stocks.  The background was stamped with Brilliance gold ink.  The text was embossed with silver and gold embossing powders.  The gold metallic paper with the word "Christmas" is using the same gold metallic in the snowflake.


This is the first time I used this cartridge.  I really wanted Winter Woodland but it wasn't available anymore at the store where I teach.  (I get a nice discount so I'll live with this cartridge.)   Head on over to the Clean & Simple blog and check out the challengers. And you can check out the Christmas cards, too.


An Out House Card.... Yep.

If you've been following me the last few days you know I've been playing with some turquoise wood grain pattern paper by Fancy Pants Designs from a collection called Everyday Circus for my proposed class in September at the AZ Scrapbooking store in Green Valley, AZ. In fact, there's 3 different colors of wood grain patterns in this collection along with a brick pattern and some other fun designs.  I remember using these little houses and were quite thankful for them.  I did see a card on Pinterest that also had one of these on it and I had an "ah ha" moment.  Glad I pinned that card!


I used my paper trimmer to cut the "door" out of the 4" x 5 1/4" wood paper. Before adhering the outside frame I added the photo turn and brad to make the door latch, punched the star in the door, and made little "leather" hinges out of some brown scraps.


Now, what is an out house without the "hole"?  I cut a 1" oval and adhered it to the wood bench.  I need to figure out what to say on the inside of the card.  If you have any suggestions I would appreciate it!

Wednesday, August 13, 2014

A Turquoise Fence and My Desk

Gorgeous day!  We're getting some rain!  The desert southwest is quite dry and Lake Mead is dangerously low.  We'll take all the rain we can get but it does raise havoc getting in and out of our home (our road goes through a gully that's impassable when flooding).  But I've gotten a bit of desk time and even did some reorganization.  And if you're wondering why I'm posting a picture of my desk area please click on the WOYWW picture in the left sidebar. Julia, the head desker, has done an amazing job pulling together crafters and getting them to show pictures of their desks.


I moved my little container of Copic markers to the shelf above and behind my red Cricut.  I wanted them closer to my work area and horizontal rather than vertical.  My little red container of acrylic blocks got moved to where the markers were along with bottle of stuff that doesn't get used frequently.  For now you can see my 2 paper trimmers on the far left with some card samples for a September class.  One is shown below, 1 in my last post, another in my next post and who knows when the last will be posted as it's still in progress. There's still a lot of organizing to do but I actually have some room to work at this point!  Wonder how long that will last.....


I'm enjoying this new Pebbles paper with the turquoise wood grain design.  The back side is a plaid which is ok.  It's used in the leaves and flowes.


I cut the leaves and flowers with my Cricut using the Serenade cartridge.  Add a bling center and some brads and voila!  I seen a card on Pinterest using a fence like this but I changed it up to work for my class.


Here's the result of yesterday's rain.  We got a 1/2" in just over 1/2 hour.  This is looking down the road with the gully running right to left (about 3' deep)  and overflow going straight down the road.  It took about 3 hours before it was down and people could get through.  Hubby has a 4 wheel drive pickup but he had to wait until the water was less than 6" deep to get home.  There is a pickup at the far end of the road waiting for the water to go down.


So now if you want to hop over to Julia's Stamping Ground blog and see many desks from all over the world please click through.  I will spend some time looking around today and getting some inspiration,  giggles, and even opportunities to pray for someone.  God bless you!

Monday, August 11, 2014

Wood 'N Butterfly

It's that time of the month when I work feverishly to prepare my class samples prior to the store meeting where we choose our dates, etc, for our classes.  I'm in luck! The meeting isn't until Aug. 18 and I have 3 of the 4 cards done!  Do you want to see one?  Here's the first one completed.


I seen a design similar over on Pinterest and love all the white layers.  I am having issues with my black ink pad with a spot that the ink just wants to puddle so my stamp has an excess of ink in that spot.  I used a Spellbinder butterfly die from the Flutter set.  The pattern papers are the 2 sides of 1 sheet.  I love the turquoise wood pattern!


Here's a closer look at the butterfly.  I added some rhinestones for that touch of bling.  A bit of twine (actually 2' of twine!) adds a fun touch and it's ready to go!

Saturday, August 9, 2014

Flower Pot

I enjoy "trying" to grow flowers and not a whole lot likes me in our southern AZ heat.  But marigolds and geraniums do just fine. I seen a cool flower pot at Ace Hardware but, dummy me, I didn't buy it when it was on sale.  But, lucky me, I talked the manager into selling it to me at the sale price about 3 weeks after the sale.  I will be watching for more of these.


Isn't this cool!  I have marigolds in the side pockets and basil in the top.  Boy, that basil smells good!


This pot came in a box with the 3 pots stacked together.  I filled each one individually then carefully planted the marigolds and and basil before snapping the 3 together.  I'm thinking of growing lettuce in a pot for next year or even this winter by sitting it in front of our dining room window.  I'll have to take some pics of my Japanese string beans and Anaheim pepper plants as they're going crazy.  But the tomatoes look pretty sorry, bummer.

Guess I need to get back to my work desk.  I want to pull a bunch of stamps to sell, organize my completed cards and prep some for sale, and work on my September class samples.  Hubby plans on a couple guys from his work coming to week eat and mow the grass and weeds.  But depends on if it's going to rain.  We are forecasted with a 50% chance of rain.  We do need it.

Friday, August 8, 2014

Barb Wire and Cowboy Boots

I recently purchased a "barb wire" stamp from Copper Leaf Creations and wanted to play with it.  I did discover that one has to be very careful when stamping or you get a bit of extra ink from the rubber since this stamp is soooo skinny.


The boot and text is from a retired TAC stamp set.  I stamped the boot on a bit of brown card stock and colored with pencils before cutting out and pop dotting on my card.


I tried to get the sparkles to show in the barb wire photo but it is difficult.  I colored the wires with the Silver Wink of Stella brush which gives a great metallic look.


I used the Clear Wink of Stella brush on the white sections of the boot.  I think the pencil lead absorbed it.  I think coloring with the pencils gave a cool texture look. What's your thoughts?  This will be a great card for our grandson as he is quite a cowboy.  He works on a cattle ranch in northwest Wyoming and trains horses.

Wednesday, August 6, 2014

Love and Desks

Well, I can't say I love my desk but my card that I made for today's post has to do with love.  My desk is brought to your viewing courtesy of the head desker, Julia, of the Stamping Ground blog.  And this is week 270 if I have my numbers correct.  That's over 5 years of having the opportunity to view crafters' work areas from all over the world!


What you see here is my Artbin that holds my Spellbinder dies (on metallic sheets made to fit the bin).  I have another Artbin that holds dies from other companies.  Sitting in the lid of my bin are the rubber mats I use to emboss.  The blue tool is also by Spellbinders called a Tool 'n One.  I love it! I seen it in a YouTube video and had the store where I teach order one in for me.  One end has a paper piercer but the bristle end helps remove the card stock from the die and the little paper pieces from the die cut and die.   To the right is today's card.  I'm still working on some Wedding themed cards.  We have a wedding to attend in 2 weeks and I want a few so that I will have some available to sell at the store where I teach. Above the card is the stamp set by Fiskars that has the LOVE stamp that I used. So my desk has been a bit busy yesterday as this is a Tuesday evening photo.


Here's a closer look at the card.  I used 5 x 7 Elegant Labels 4 dies.  I also stamped the LOVE on the back flap of the envy.


I thought the "O" was a great frame, too, so I colored a white heart gem with a Copic marker then glue dotted it into the center of the letter.  A bit of ribbon to fill the tab ends of the label and lots of pop dots and the card is complete.  A lot of white area but I like the simple elegance.

Ok, now you can pop on over to the Stamping Ground and check out oodles of blogs with lots of cool photos.  Not all the deskers make cards but they have fun stuff to share!